


在现代应用开发中,第三方登录是常见的功能,可以降低用户登录的门槛,所以我给我的我的网站集成 github、gitee 登录教程,今天来看看如何在.net core 中集成 ,代码比较简单,以此记录一下。
Github登录
配置 GitHub 认证
在 GitHub 上创建一个 应用,获取 Client ID 和 Client Secret。只需要在gitub的开发设置里面申请就好了,我觉得有的网站(包括gitee)第三方登录申请比较友好,直接注册,并且支持loaclhost的调试,大大的降低了难度。

页面配置按钮
页面配置按钮,点击登录图标跳转到https://gitee.com/oauth/authorize,这个地址是固定的
代码如下
window.location.href = "https://github.com/login/oauth/authorize?client_id=" + appId;
其中appId是你申请的clientId
跳转之后,会自动跳到你的回调页面然后携带一个code,然后你拿到这个code就可以
获取accessToken了
请求AccessToken
请求后台接口,把code传过去
 const loading = loadService.openFullLoading('登录认证中...');
    let code = route.query.code;
    let loginType = route.query.openLoginType;
    let params = {
        code: code,
        loginType: loginType
    }
    openLoginApi(params).then(res => {
        window.location.href = import.meta.env.VITE_WEB_UI;
        loadService.closeFullLoading(loading);
    })
请求accessToken的接口是https://github.com/login/oauth/access_token
代码如下
  private async Task<string> GetAccessToken(string authorizationCode, string clientId, string clientSecret)
        {
            if (string.IsNullOrEmpty(authorizationCode))
                throw new AuthException("github认证登录失败:authorizationCode为空");
            string apiUrl = $"https://github.com/login/oauth/access_token?client_id={clientId}&client_secret={clientSecret}&code={authorizationCode}";
            HttpClient httpClient = new HttpClient();
            httpClient.DefaultRequestHeaders.Add("Accept", "application/json");
            string response = await httpClient.GetStringAsync(apiUrl);
            dynamic result = JsonConvert.DeserializeObject(response);
            return result.access_token;
        }
其中 httpClient.DefaultRequestHeaders.Add(“Accept”, “application/json”)你可以根据你的要求去设置header来得到的接口数据的格式
请根据AccessToken获取用户信息
private async Task<GitHubUserInfo> GetGitHubUser(string accessToken)
        {
            string apiUrl = "https://api.github.com/user";
            HttpClient httpClient = new HttpClient();
            httpClient.DefaultRequestHeaders.Add("User-Agent", "xiandan");
            httpClient.DefaultRequestHeaders.Add("Authorization", "Bearer " + accessToken);
            string response = await httpClient.GetStringAsync(apiUrl);
            dynamic result = JsonConvert.DeserializeObject(response);
            GitHubUserInfo gitHubUserInfo = new GitHubUserInfo();
            gitHubUserInfo.LoginName= result.login;
            gitHubUserInfo.AvtarUrl= result.avatar_url;
            gitHubUserInfo.OpenID = result.id;
            gitHubUserInfo.OpenAuthEnum = OpenAuthEnum.GitHub;
            gitHubUserInfo.Sex = "男";
            return gitHubUserInfo;

        }
其中httpClient.DefaultRequestHeaders.Add(“User-Agent”, “xiandan”),如果你不设置User-Agent的话,可能会出现接口403的情况,具体的根据自己的情况处理
保存用户信息并且登录
上面的方法返回了用户信息后,既可以执行你的业务操作了,如创建用户信息并且生成登录token,我的代码
 public async Task<LoginUser> CreateOpenUser(BaseOpenUserInfo openUserInfo)
        {
            var accountRepository = unitOfWork.GetRepository<Account>();
            var userRepository = unitOfWork.GetRepository<User>();
            var uploadFileRepository = unitOfWork.GetRepository<UploadFile>();
            Account account = await accountRepository.SelectSingleAsync(s => s.AccountName == openUserInfo.OpenID);
            UploadFile avatarFile = null;
            User user = null;
            if (account == null)
            {
                RegisterUserDTO registerUserDto = CreateOpenUser(openUserInfo, ref avatarFile);
                var tup = CreateAccountUser(registerUserDto);
                account = tup.Item1;
                user = tup.Item2;
                await accountRepository.InsertAsync(account);
                await userRepository.InsertAsync(user);
                if (avatarFile != null)
                {
                    avatarFile.Id = CreateEntityId();
                    avatarFile.UserId = user.Id;
                    avatarFile.EntityId = user.Id;
                    await uploadFileRepository.InsertAsync(avatarFile);
                }
                await unitOfWork.CommitAsync();
            }
            else
            {
                user = await userRepository.SelectSingleAsync(s => s.AccountId == account.Id);
                avatarFile = await uploadFileRepository.SelectSingleAsync(s => s.EntityId == user.Id && s.EntityName == EntityCode.UserEntityName);
            }
            LoginUser loginUser = CreateLoginUser(user, account, avatarFile);
            return loginUser;
        }
Gitee登录
gitee登录基本上和github登录差不多,也支持loaclhost的调试
window.location.href = "https://gitee.com/oauth/authorize?client_id=" + clientId + "&redirect_uri=" + redirectUri + "&response_type=code";
 private async Task<string> GetAccessToken(string code)
        {
            string url = $"https://gitee.com/oauth/token";
            HttpClient client = new HttpClient();
            FormUrlEncodedContent content = new FormUrlEncodedContent(new[]
            {
                new KeyValuePair<string, string>("grant_type","authorization_code"),
                new KeyValuePair<string, string>("code",code),
                new KeyValuePair<string, string>("client_id",GiteeConfigOption.ClientId),
                new KeyValuePair<string, string>("client_secret",GiteeConfigOption.ClientSecret),
                new KeyValuePair<string, string>("redirect_uri",GiteeConfigOption.RedirectUri)
            });
            HttpResponseMessage response = await client.PostAsync(url, content);
            if (response.IsSuccessStatusCode)
            {
                string responseBody = await response.Content.ReadAsStringAsync();
                dynamic tokenResponse = JsonConvert.DeserializeObject(responseBody);
                return tokenResponse.access_token;
            }
            else
            {
                throw new Exception($"获取访问令牌失败:{response.StatusCode}");
            }
        }
        private async Task<GiteeUserInfo> GetGiteeUserInfo(string accessToken)
        {
            string url ="https://gitee.com/api/v5/user?access_token="+accessToken;
            HttpClient httpClient = new HttpClient();
            string response=await httpClient.GetStringAsync(url);
            dynamic result = JsonConvert.DeserializeObject(response);
            GiteeUserInfo giteeUserInfo = new GiteeUserInfo();
            giteeUserInfo.OpenAuthEnum = OpenAuthEnum.Gitee;
            giteeUserInfo.OpenID = result.id;
            giteeUserInfo.Name= result.name;
            giteeUserInfo.AvatarUrl = result.avatar_url;
            giteeUserInfo.Sex = "男";
            return giteeUserInfo;
        }
这样,基本的.net core 集成 GitHub、gitee 登录就完成了。
作者:程序员奶牛
个人开源网站:https://www.xiandanplay.com
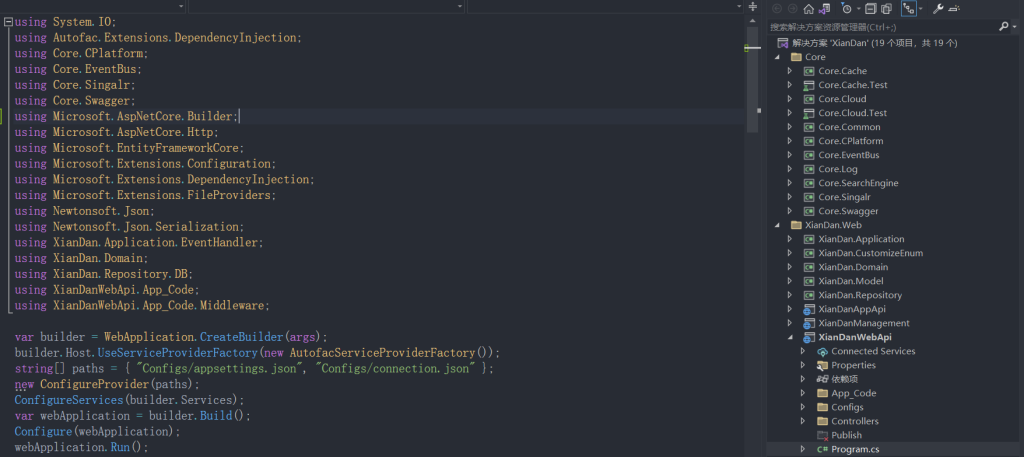
源码地址:https://gitee.com/MrHanchichi/xian-dan
来源链接:https://www.cnblogs.com/MrHanBlog/p/18730730
如有侵犯您的版权,请及时联系3500663466#qq.com(#换@),我们将第一时间删除本站数据。


暂无评论内容